Mouldable Teeth Whitening Mouth Trays & Case

£4.99

Take your teeth whitening to the next level with these thermoform mouldable mouth trays & hygienic protective case.

1 Pack = 2 x Mouthtrays / 1 x Hygiene Protective Case

(2 customer reviews)

In stock

We Always Go The Extra Smile

  • Free UK Delivery Over £100
  • Quick Despatch & Fast Delivery
  • Big Brands & Low Prices
  • Secure Checkout & Payments
Guaranteed Safe Checkout

Description

Product Benefits

  • Ready to use in minutes!
  • Easy to prepare
  • Highly effective at holding teeth whitening gel
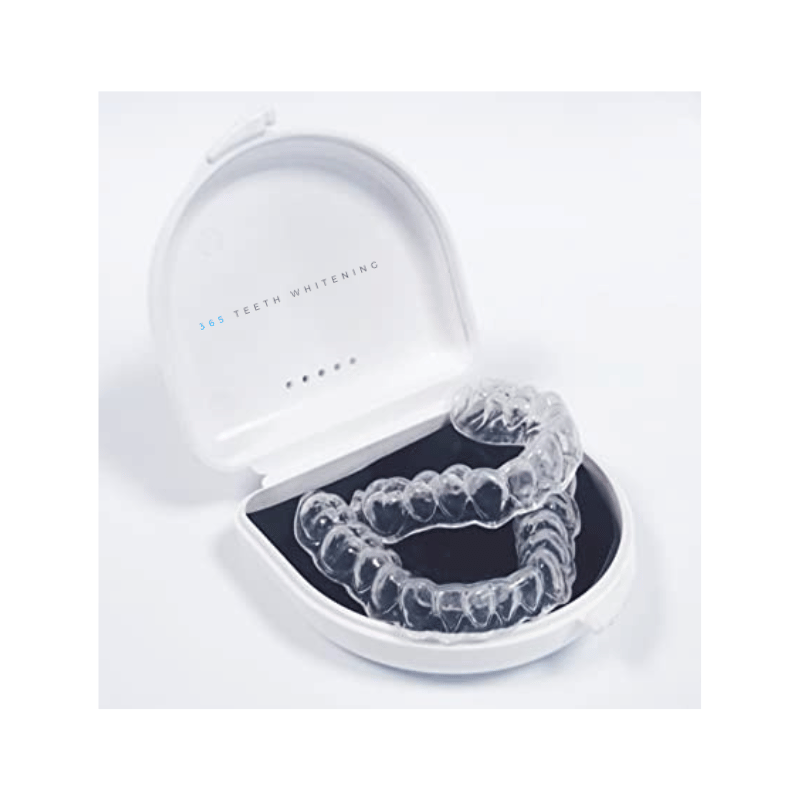
  • Contains 2 trays (1 upper and 1 lower)
  • Forms at low temperature
  • Includes FREE hygienic protective storage case

Product Overview

Having a tooth whitening gel mouth tray (or gum shield) you can rely on is vital if your teeth whitening treatment is to be successful. We know that and kept that at the front of our minds when developing the 2x Mouldable Teeth Whitening Mouth Trays & Case.

Replicating the professional whitening trays you would receive from the dentist, our trays and whitening gum shields are every bit as functional and effective but for a fraction of the cost! We use soft thermoform trays that are made to fit the shape of your mouth, ensuring comfort and effectiveness!

Simply mould it to your teeth, submerge in boiling water and you’re good to go. Effective gel trays that can be used for endless whitening treatments.

Manufactured

China

Instructions

How To Use

  1. Before you start moulding your mouth trays, it’s a good idea to do some practice with them in your mouth to get used to them. Simply remove the mouth trays from the case, wash them thoroughly in cold water and then start with the top tray – gently press it up into your mouth so it sits on your top row of teeth and then do the same for the bottom row of teeth too (don’t worry about the trays not fitting properly, it’s just to get familiar with them in your mouth). Once in your mouth, use your tongue to press against the trays etc so you get comfortable with the trays in your mouth.
  2. Now we’re ready to start moulding the trays. First boil a kettle of water but not to boiling point, instead turn the kettle off when just starting to boil (boiling water could damage the trays, you just need the water very hot) then get a clean jug or bowl that is deep enough that it will allow the trays to fully submerge.
  3. Pick-up the first mouth tray using the tab in the centre and then slowly lower the tray into the water for approximately 5-10 seconds making sure the mouth tray is fully submerged up to the tab you are holding (be careful you down burn your fingers, if you are concerned about the hot water, you can use a pair of tweezers or tongs to grip the tab and lower the mouth tray into the water).
  4. Once the mouth tray has been submerged, quickly take it and put it straight on to you top row of teeth like mentioned in step 1 above. Once the tray is on your teeth, push it up into the roof of your mouth using your tongue then gently bite down to firmly lock the tray on to your teeth – keep biting down on the tray for about 10 seconds.
  5. Once the tray is fully moulded on to your teeth, gently remove the tray and using a pair of scissors, cut the tab off so only the fully moulded mouth trays remain.
  6. Do the same process above for the lower teeth mouth tray.
  7. Once your mouth trays are moulded, let them sit for a few minutes to fully harden up ready for your whitening gel
  8. Once your trays are ready for use, simply get your whitening gel syringe and put a tiny amount of the gel on the front of each tooth impression in the mouth tray (this is so the gels sites on the front of your teeth when you put the mouth trays into your mouth) – do not put the gel into the bottom of the tooth impression as this will mean the gel sits over the tooth and could cause sensitivity.
  9. If any of the whitening gel makes contact with your gums or tongue, simply wipe away with a damp cloth, cotton wool bud or even a toothbrush.
  10. Leave the mouth trays in your mouth for the desired time as recommended by your whitening gel instructions.
  11. Once you have finished whitening for the desired amount of time, gently remove the mouth trays from your mouth and clean thoroughly under cold water. Once clean, dry them off and return them to their protective case ready for the next time you need them – store the mouth trays in a dry place.
  12. Finally, if you have some sensitivity or are concerned about the gel remaining on your teeth after use, gently brush your teeth with your chosen toothpaste, rinse your mouth out and your good to go.

Videos

How To Mould Mouth Trays

How To Use Whitening Gel In Mouth Trays

2 reviews for Mouldable Teeth Whitening Mouth Trays & Case

4.5
Based on 2 reviews
5 star
50
50%
4 star
50
50%
3 star
0%
2 star
0%
1 star
0%
  1. Mounia E. (verified owner)

  2. Karli T. (verified owner)

Only logged in customers who have purchased this product may leave a review.